

How To Keep Grain When Uploading Video
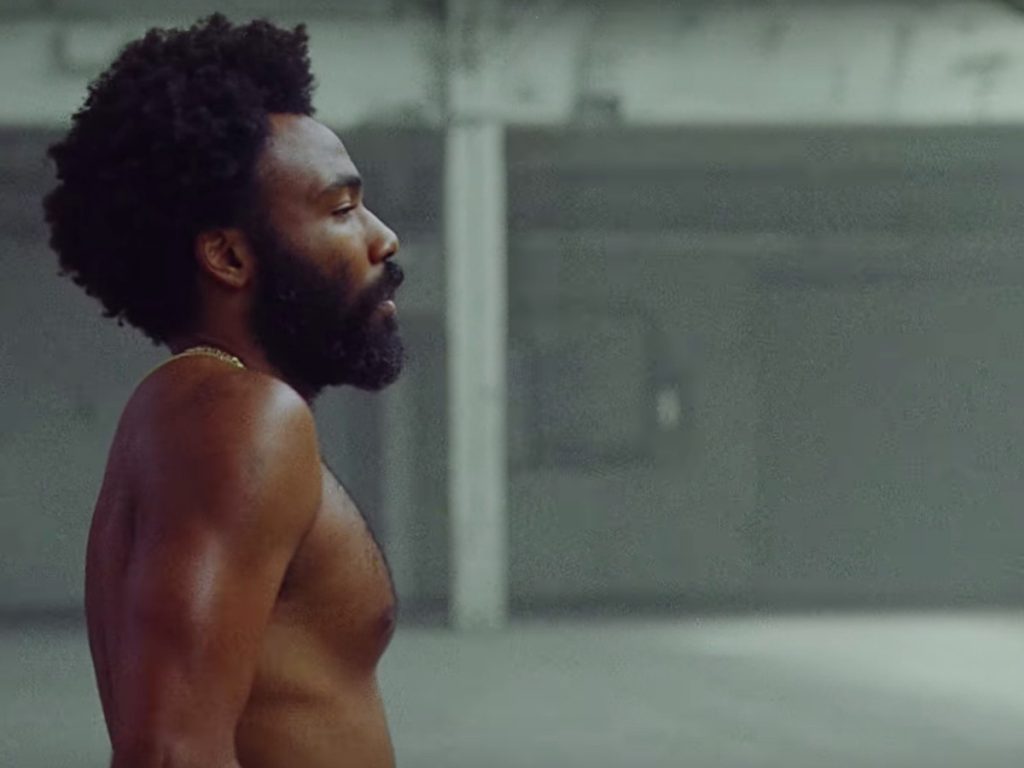
The latest music video past Kittenish Gambino for 'This is America', directed by Hiro Murai, is a visually stunning and provocative statement on the intersection of race, politics, music and entertainment in the U.s.a.. If you haven't already watched (and rewatched) the video, cheque out the link above – content alert, contains vehement imagery.
Nosotros'll go out the political commentary to voices more qualified than ours, but one aspect of the video many people can agree upon is the noticeable dissonance and artifacts in the master version uploaded to Youtube.
Our users often complain that their carefully mastered, high-resolution video files end up looking far worse when they are uploaded to streaming sites. Motion picture grain can be peculiarly problematic – what looks similar beautiful, fine-grain flick emulation in your preview window in your editor tin can be turned into blocky mush by the inscrutable encoding gods.
So why is this happening? To begin with, it helps to understand how video pinch works. Tom Scott provides a dandy overview of what's going on in this video:
As Tom explains, the compression algorithms are designed to save data (and file size) by discarding information that doesn't change much from frame to frame.
When you add picture show grain (or snow, or digital particle furnishings) to a video, there'due south much more than information changing from frame to frame, and the pinch will usually react past 'smushing' the areas of common color (normally your beautiful shallow-focus groundwork) together. This can manifest as banding or blockiness across big areas of color, or noise and muddiness in peel tones. Organic, natural-looking grain becomes bogus, digital noise.
How to prevent artifacts in your Youtube uploads
Assuming you're non a cinematic genius similar Hiro Murai and Donald Glover, you'll want to ensure that your grading and grain settings are set to preserve your vision as much as possible.
If you're shooting a video with snow, rain or other particle effects, or are intending to use film grain, make certain you shoot an intra-frame codec, such every bit All-I, ProRes, or RAW. Inter-frame codecs such as MPEG4, AVCHD and XAVC volition innovate too much racket at the acquisition phase, which you lot will simply exist able to become rid of with noise reduction.
Once you lot're gear up to export your final principal file, the key is giving Youtube the maximum amount of data in your video to piece of work with. Regardless of your source camera's data charge per unit, you should return into a bigger 'container' for your primary file, so no extra compression is existence applied at the export stage.
To do this:
- Set 'Maximum Chip Depth' in your render settings
- Return to a high bit-rate codec such as ProRes ten-bit
- Upload ProRes direct to Youtube and Vimeo, rather than .h264
Past exporting to a high bitrate file, the tradeoffs is that your master file may be much larger than yous're used to working with, and will take longer to render. But remember – in this online era, the streaming version will be the ane 99% of your audience sees. You can always archive your primary file after, but to ensure your audience see your work at the highest quality, take the time to consign and upload the massive file your movie deserves.
Source: https://www.filmconvert.com/blog/avoiding-noise-youtube-uploads/
Posted by: morrisneves1969.blogspot.com
0 Response to "How To Keep Grain When Uploading Video"
Post a Comment